.png "深圳市创雄科技有限公司")

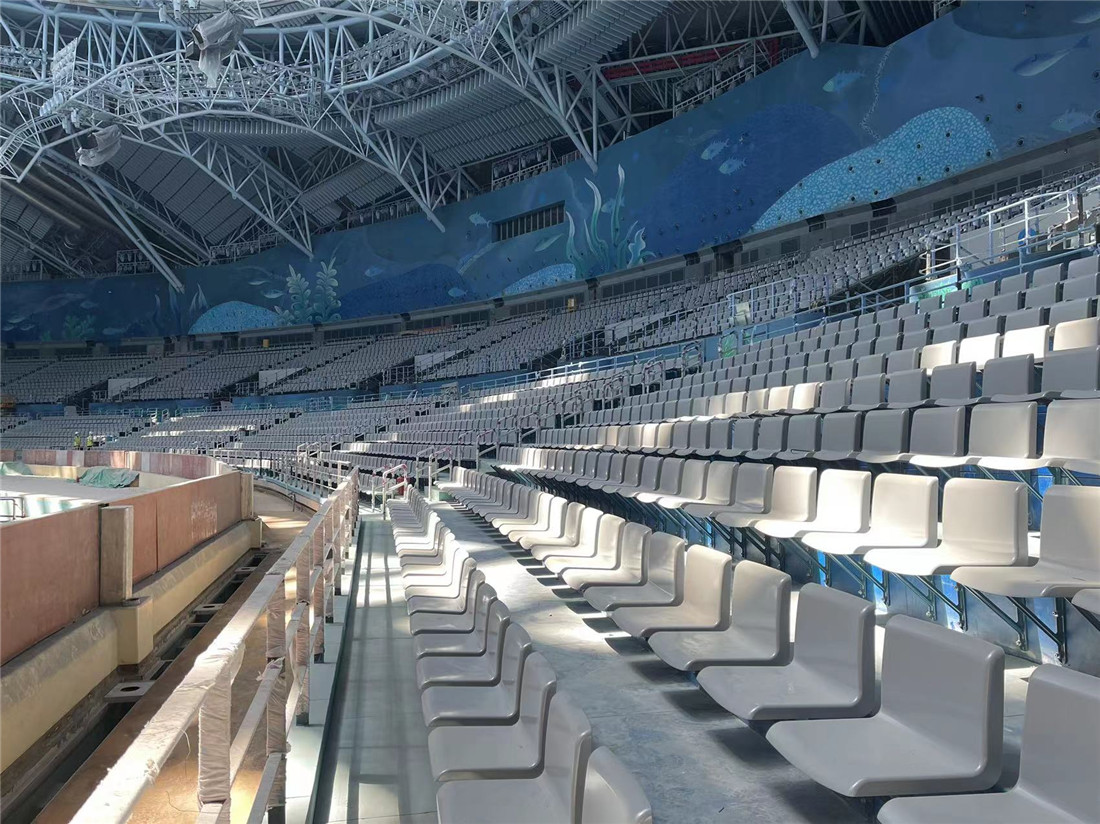
Installation process and common problem analysis of fixed grandstand seats
The installation of fixed grandstand seats is a highly specialized project that directly affects the safety, comfort, and overall image of the venue for the audience. A standardized installation process is the foundation for ensuring the long-term stable operation of the grandstand. This article will provide a detailed analysis of the installation steps for fixed grandstand seats and explore common difficulties and complications during the installation process.
Part One: Scientific and Standardized Installation Process
The installation of fixed grandstand seats is not simply about fixing the chairs to the ground with screws, but a systematic project. The standard process can be mainly divided into the following five stages:
Phase 1: Precise preparation before installation (planning and measurement)
This is the most important but easily overlooked aspect, determining the success or failure of all subsequent work.
On site investigation and measurement: The installation team needs to arrive at the site to accurately measure the dimensions of the grandstand steps (steps), including height, depth, flatness, and verticality. Any significant deviation must be corrected before installation.
Confirm the design drawings: Compare the on-site data with the seat design drawings, re mark the line positioning, and accurately mark the installation hole positions of each row and each seat. This is the key to ensuring that all seats are neat and uniform.
Check accessories and materials: Open the box for inspection, verify the number, color, model, and all installation accessories (such as expansion bolts, stainless steel screws, brackets, etc.) of the seats for completeness and accuracy.
Safety technical briefing: Provide safety education and technical briefing to installation personnel to ensure that everyone is clear about installation standards, procedures, and safety precautions.
Phase 2: Foundation treatment and fixation (foundation preparation)
The foundation treatment method varies depending on the material of the stands.
Concrete foundation: This is the most common situation. Use an electric hammer to drill holes at pre marked locations, and the diameter and depth of the holes must strictly meet the requirements of the expansion bolt.
Steel structure foundation: It is necessary to pre position openings on the steel structure beams or use specialized welded bottom plates.
Cleaning the hole: After drilling, it is necessary to thoroughly clean the dust and debris inside the hole with a blower (or special tool), otherwise it will seriously affect the fixing strength of the bolt.
Phase 3: Installation and fixation of seats (main body installation)
This is the process of turning the seat into a whole.
Install seat bracket (if any): Some systems first install a metal bracket and then secure the seat to the bracket.
Fixed seat: Place the seat in the designated position and secure it with anti loosening stainless steel screws or specialized bolts. For concrete foundations, it is necessary to first insert expansion bolts, gently tap them in with a hammer, and then use a torque wrench to tighten them to the specified torque to ensure that all bolts are evenly stressed.
Connecting in rows: Most fixed seats are designed with lateral connection buckles or connected in series through connecting pipes. During installation, it is necessary to ensure that each connection point is securely fastened, in order to connect individual seats into a single row and greatly enhance stability.
Stage 4: Comprehensive adjustment and verification (leveling and straightening)
After the initial fixation of all seats, overall adjustment is required.
Overall verification: Observe the straightness and levelness of the entire row of seats from different angles.
Fine tuning: Use tools such as rubber hammers to make minor adjustments, ensuring that all seats are aligned in front, back, left, and right directions without any tilting.
Final tightening: After confirming the neatness, perform a final comprehensive tightening on all fixing points.
Stage 5: Final Cleaning and Acceptance (Cleaning and Delivery)
On site cleaning: Remove all installation tools, packaging materials, and clean the surface of the seat.
Joint acceptance: Conduct acceptance together with the project leader to check the installation quality, firmness, and aesthetics.
Delivery for use: Fill out the acceptance form and officially deliver it to the customer for use.
Part 2: Common Problems and Solutions during Installation
Problem 1: Deviation in drilling position or insufficient drilling depth
Phenomenon: Causing the seat to be misaligned or the bolts to not be fully secured.
Reason: Inaccurate measurement of the bullet line or operator error.
Solution: Stop the task immediately and recheck the positioning line. If the hole has already been drilled, high-grade cement mortar or planting adhesive can be used to fill the original hole, and after solidification, the hole can be drilled again in the correct position. Do not forcefully install on holes with existing deviations.
Problem 2: Insufficient basic strength or uncleaned holes
Phenomenon: The expansion bolt cannot be tightened, there is a loosening sensation, and the bearing capacity does not meet the standard.
Reason: The concrete grade is too low, there are cracks, or the ash residue inside the hole has not been cleaned thoroughly.
Solution: For foundations with insufficient strength, chemical anchor bolts (anchoring glue) should be used instead of ordinary expansion bolts, which have stronger bonding strength and can significantly improve the fixing strength. Be sure to thoroughly clean the holes before installation.
Problem 3: The seats are not arranged neatly and appear skewed
Phenomenon: When viewed from the side, the seats are not in a straight line, which affects aesthetics.
Reason: The seat moved when the wiring was not connected or the screws were not fixed.
Solution: During installation, a straight line that runs through the entire grandstand must be drawn as the reference line, and it should be checked every few seats installed. When fixing the screws, press down on the seat with your hand to prevent it from shifting.
Question 4: Damaged or missing accessories
Phenomenon: During the installation process, it was found that the screws were slipping, the brackets were deformed, or the quantity was insufficient.
Reason: Transportation loss or manufacturer's shipping negligence.
Solution: It is strictly prohibited to use non original accessories (such as ordinary screws) as substitutes! Suppliers should be contacted immediately to send replacement parts. The original accessories have undergone load-bearing calculations, and substitutes may pose significant safety hazards.
Question 5: The seat shakes or makes abnormal noises after installation
Phenomenon: When the audience is sitting or moving, the seat makes a sound or shakes slightly.
Reason: The bolts are not fully tightened, the connecting buckles are not fully engaged, or the foundation itself has slight deformation.
Solution: Check and tighten all bolts and connection points one by one. For long row seats, the normal swing amplitude in the middle may be slightly larger, which is within the allowable design range, but there should be absolutely no swing at the base (fixed point)